Thursday, April 30, 2020

Day 19


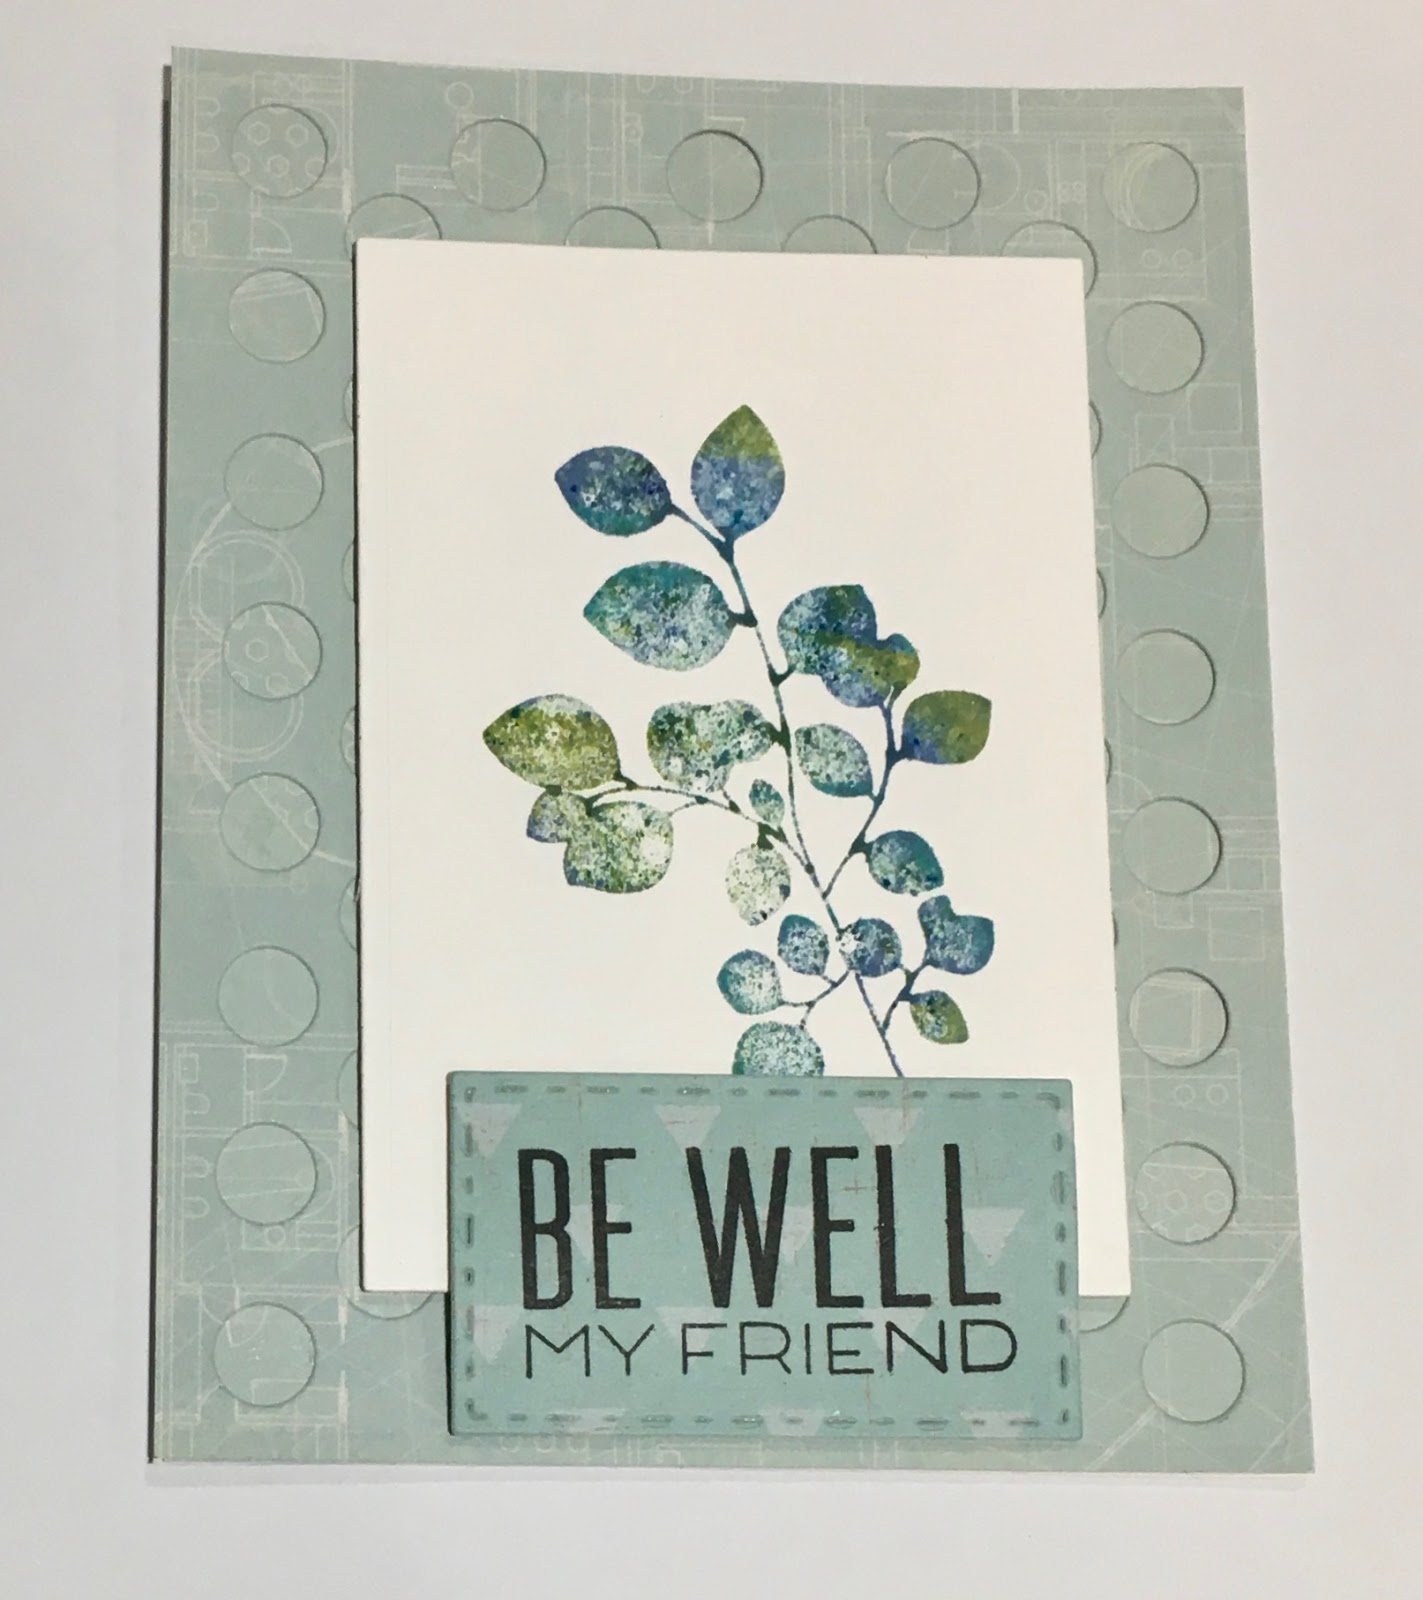
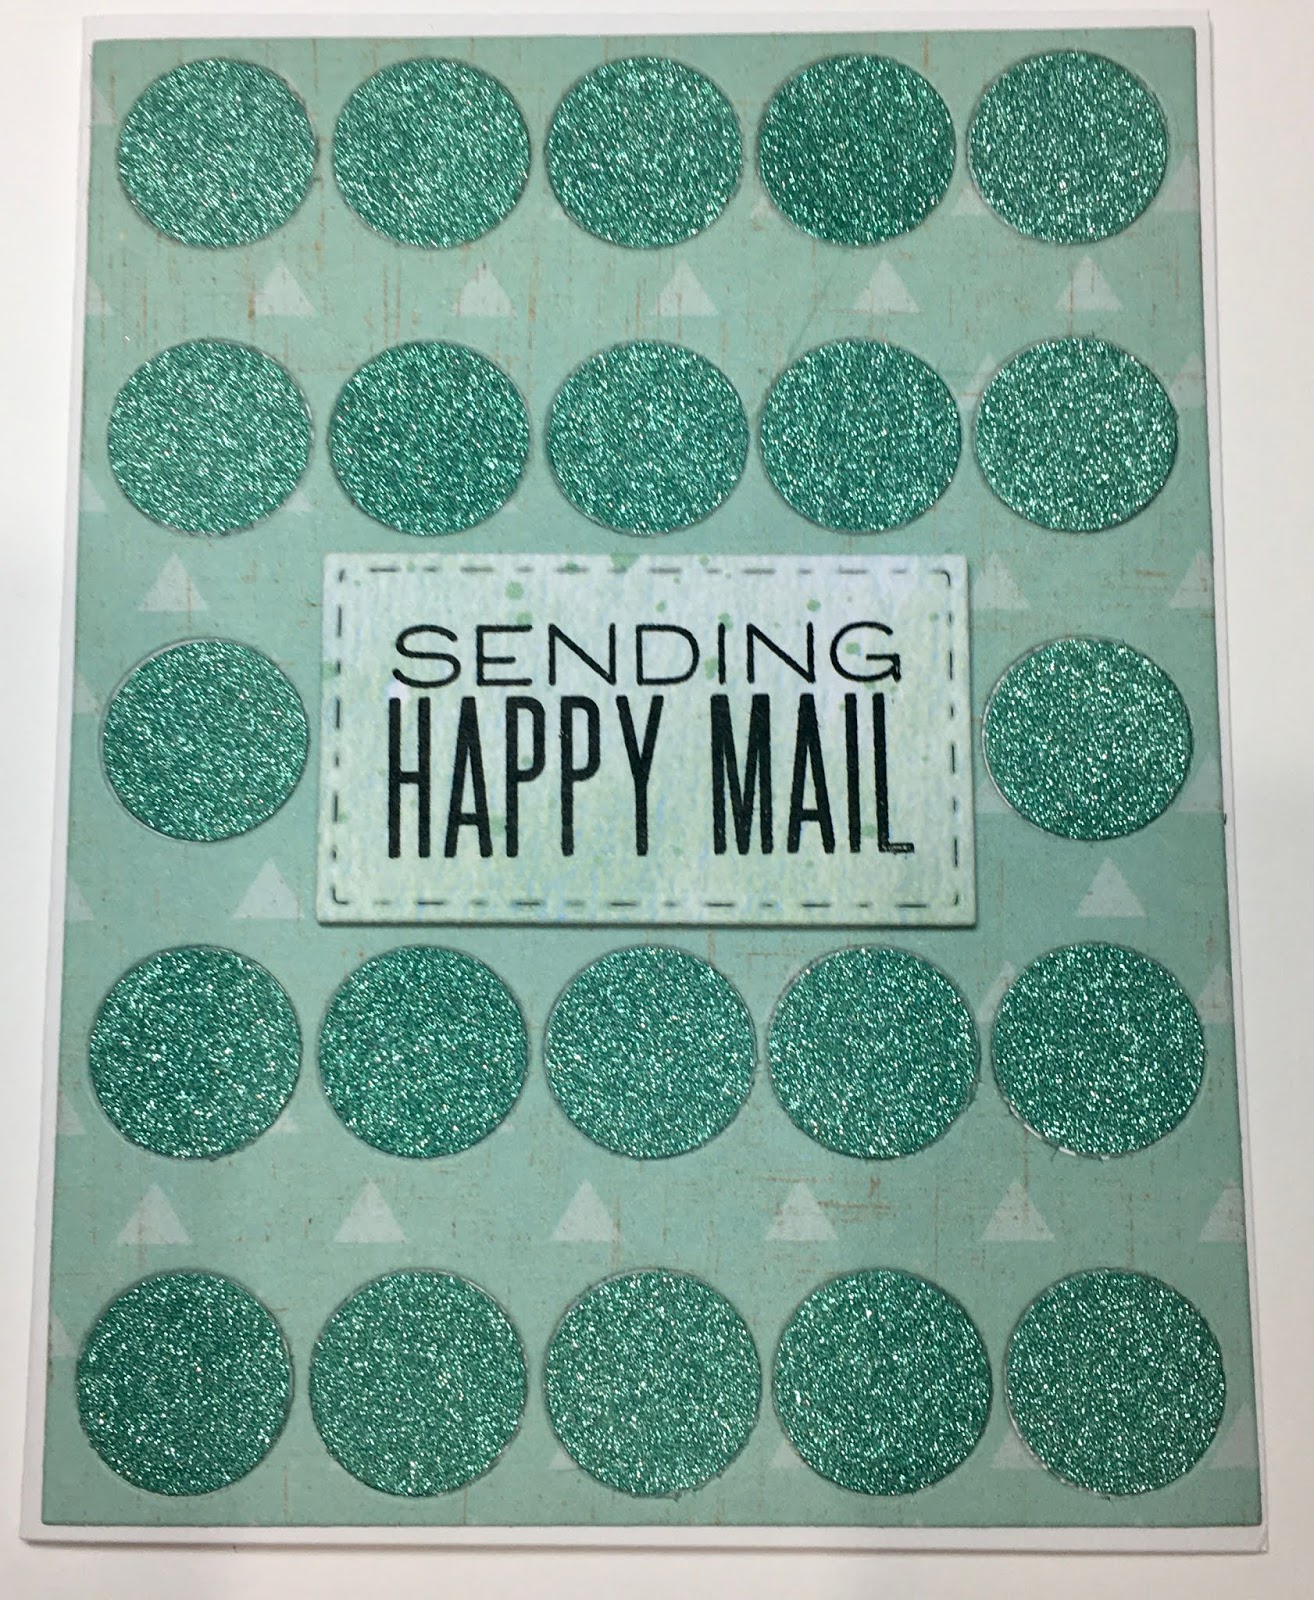
Today Jennifer McGuire demonstrated second generation stamping. You really have to have juicy ink pads to get good results and mine weren't. With a bit of touch up I managed. I really liked her use of a background stamp using white ink on craft CS. I used a text stamp for my backgrounds and an Altenew layered stamp set for the images.


I bought a nested set of stitched fish-tailed banner dies a while ago but had never used them. It took me nearly as long to find them (right where they should have been but I had overlooked them and searched far and wide before going back to where they were supposed to be!) as it did to make the cards.


Wednesday, April 29, 2020

Day 18


Shari Carroll demonstrated masked inking and then used the masking strips of paper to create a second card.

I used Distress Oxide inks (Twisted Citron, Cracked Pistachio, Broken China, and Peacock Feathers) for the central panels which were then mounted onto black CS.  I chose different black and white papers for the backgrounds and each was mounted onto black CS before attaching to white A2 cards.


I cut two of each of the words 'smile' and 'hello' and stacked them for dimension before adhering each to black CS and free cutting the black outlines.


The ink blended center panels were applied to the patterned paper with foam tape as were the words on top of the center panels.  I basically copied Shari's card designs because I really liked hers!

Day 17


Day 17 had another great video by Julie Ebersole. I've been busy with other projects, so I didn't do the word die part of her examples. Instead I just blended some overlapping circles to turn into a quick card. 


Yesterday I made a card for my four-year-old grandson in Seattle which is why I had the idea for the above card. The card that I made for his brother is posted on Day 14. 


Monday, April 27, 2020

Day 16


My Copic markers are fairly new, and I didn't want to use them up since I have no re-inkers. However I have several sets of cheaper alcohol markers that I bought before I broke down and bought some Copics, so I decided I would use those instead. I stamped a large Altenew floral image to use for this technique.

I have to say that this was not my finest effort! I didn't like either side of the original and even tried to knock back the color with some white ink.


Knowing that I'd never send a card that used the reverse side of the original, I opted to use the side I'd originally colored, then tried to disguise it the best I could with a large white die cut sentiment. 


I used the same die cut for the second card but cut it out in silver. I might actually send these cards now that I've made some adjustments.


Day 15


I have done a lot of background smooshing in my day, but I'd never tried applying the ink/paint via clear plastic. Instead of using inks I thought I'd break out my tube water colors that I bought at Daiso the last time I was in Seattle. I was able to apply a lot of color easily and tried matching the colors to a sticker sentiment that I wanted to use.


Five backgrounds were smooshed and then I turned one into my card. Some Nuvo crystal drops were added for a finishing touch.


No matter how firmly I attach my watercolor paper to a board, my pieces always end up warped!

Saturday, April 25, 2020

Day 14


Our Day 14 lesson was done by Laura Bassen, my absolute fave! She has such a quirky sense of humor and all her videos bring a smile to my face as do her cheerful cards.

I'm tired of using the same old word dies so I decided to make a personalized card to send to my
8-year-old grandson in Seattle. He is supposed to spend the month of August with us here in Illinois, but who knows what the situation will be then. Anyway FaceTime is a good way to visit since we can't be together! Technology is our friend :) A group of my college friends is having lunch together via Zoom on Monday which should be good fun.


Friday, April 24, 2020

Day 13


I enjoyed Cathy Zielske's CAS cards in the Day 13 lesson. I ink blended the background using Distress Inks Picked Raspberry, Wild Honey, and Squeezed Lemonade and then went over the colors with my Nuvo Shimmer Pen. I attached the 'hi'  cut out top piece then added some same color sequins and white Nuvo Drops.


I attached the diecut 'hi' piece to a patterned A2 card for a quick second card.


Day 12


Jennifer McGuire demonstrated how to make an ink pad using ink refillers. I only had two refillers that weren't brown tones so I combined my Tim Holtz Faded Jeans refill with splashes of blue and green Distress Stains. The inked image was still pretty pale so I added some watercolor crystals.  Here are 5 stamped pieces, backgrounds made from the ink pad, and several die cuts from one of the backgrounds.


I made two cards but still have enough bits and bobs to make a few more if I ever get caught up with class assignments. I'm still two days behind.

The first card has a circle background die piece on top of a solid piece of the same paper.


The second card used a background piece with the matching diecut of the stamped image.


Tuesday, April 21, 2020

Day 11


Day 11 featured rainbow cards using concentric circle dies to create the rainbows. The first three cards are similar to those created by today's instructor,  Dawn Woleslagle. Instead of inking the circles in rainbow colors, I used Copic markers to do it.  I used a cloud stencil for the background and created dimensional clouds using the cloud edge die from the Elizabeth Crafts Adventure Edge set. The top cloud pieces are given dimension using foam tape.


The last card has the sun and sunbeams stenciled onto the card front with Nuvo shimmer brushed on the inked yellow image. A larger rainbow and sentiment were added on top of the sun and then the front was mounted onto black cardstock before being attached to an A2 white card.


Day 10


In the Day 10 lesson Lydia said that she used glitter paste because she didn't have glitter paper. Well I have the opposite problem, so I decided than rather create my own glitter paste I would use glitter paper. 

I cut 3 background panels: 1 from glitter paper and two from patterned paper. I filled the diecut holes with circles from a contrasting paper. The first is the background cut from glitter paper.


The second used a patterned paper background with the glitter paper circles inserted.


The third used a patterned background with contrasting patterned paper circles.


As I've been going through my stash I've been finding bits and pieces that I've made but haven't turned into cards yet. Here's a stamped flower that I had done ages ago and now made into a card.


Sunday, April 19, 2020

Day 9


The 2 for 1 stencil cards were a lot of fun! I used a peacock feather stencil and blended Distress Oxide shades of blues and greens.


My second generation feather piece wasn't the best so I lightly blended some DO over the entire thing and added Wink of Stella to the feathers.  The sentiment is actually bright white so I'm not sure why it looks pink in the photo :)


I used another stencil and blended Picked Raspberry, Faded Violet, and Peacock Feathers Distress Oxides. I didn't add layers to the Smile die cut sentiment (at this point I was no longer motivated) so the card looks a bit like a hidden picture. 


I was happier with this second generation print, but I wished I had cut the sentiment out of a colored cardstock. Maybe I'll add another layer tomorrow.


Saturday, April 18, 2020

Day 8


Once again I didn't have a suitable die for today's assignment so I used letter dies surrounded by a stitched rectangle die to form the word HUGS. I used pigment inks and a water brush to paint an area to die cut.

I created a shaker from the negative piece and loaded it to the brim with a variety of sequins and beads. I added some embossed lines on each side based on the technique Julie Ebersole used on
Day 4.


For the second card I added foam tape to the letters and placed them inside the rectangle cut out. I had such a huge white space beneath the word which felt unbalanced, so I added some flower jewels and white Nuvo drops. I'm not sure if that was a good move :(